Table of Contents
Introducing solid foods marks an exciting milestone in your baby’s growth. For many parents, the convenience and nutrition of Frozen Baby Food offers a perfect solution to busy schedules without compromising on quality. In this comprehensive guide, we dive into everything you need to know about preparing, freezing, storing, and serving homemade baby food. Along the way, discover expert tips, nutrient tables, and practical recipes to ensure your little one enjoys safe, wholesome meals every day.
Why Choose Frozen Baby Food?
- Convenience: Preparing large batches and freezing them saves daily prep time.
- Cost-Effectiveness: Seasonal produce often costs less, and bulk cooking reduces waste.
- Nutrition: Flash-freezing locks in vitamins and minerals, ensuring your baby gets maximum benefit.
- Variety: Easily mix and match purees to introduce new flavors and textures.
- Control: You select every ingredient, avoiding preservatives and additives.
By opting for homemade Frozen Baby Food, you maintain full control over texture, taste, and nutrient density—key factors in supporting healthy development.
Essential Equipment and Tools
Before you start, gather these basics ; Frozen Baby Food:
- Quality Blender or Food Processor – Choose one that yields smooth purees.
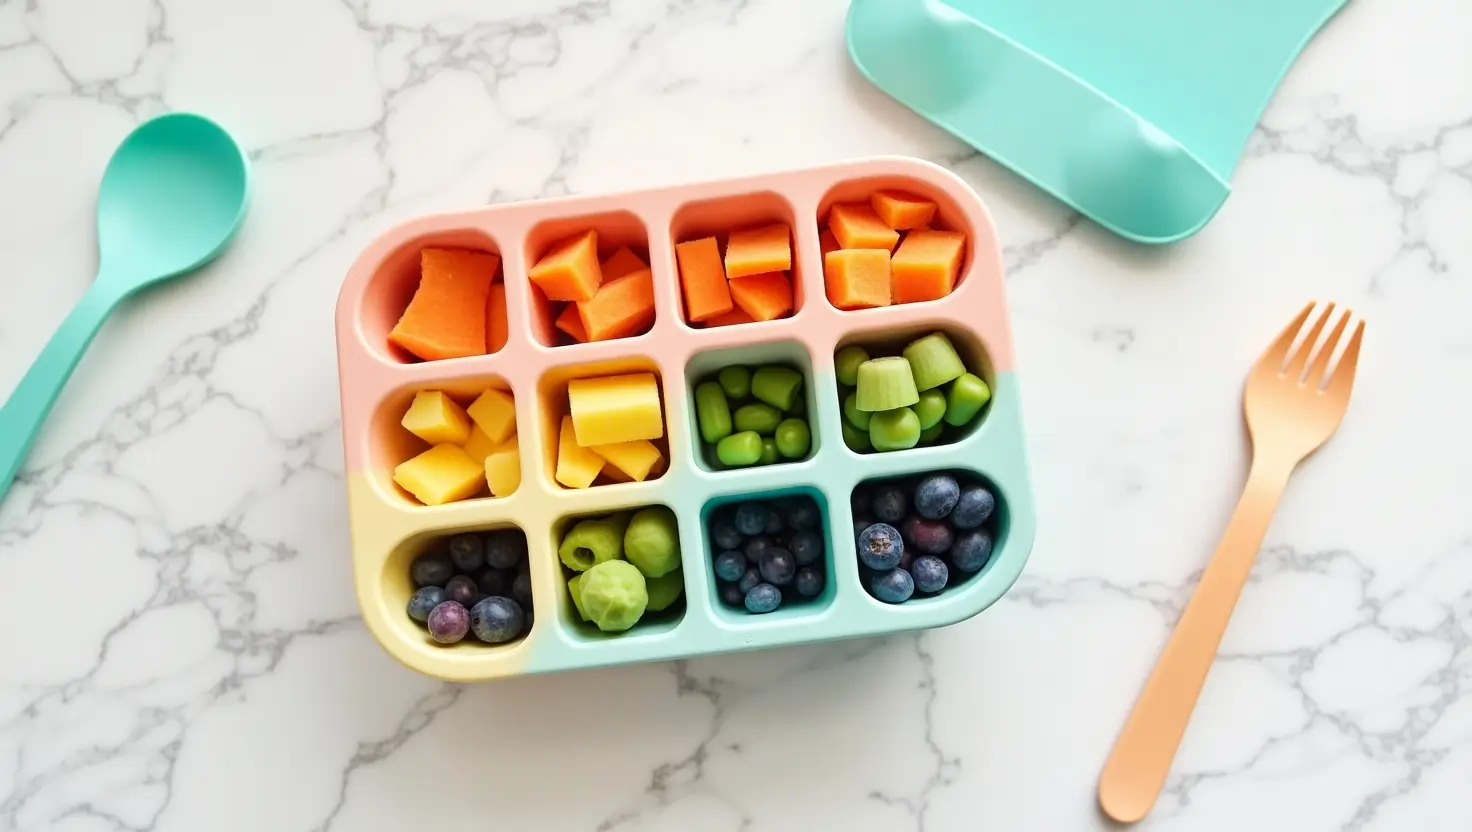
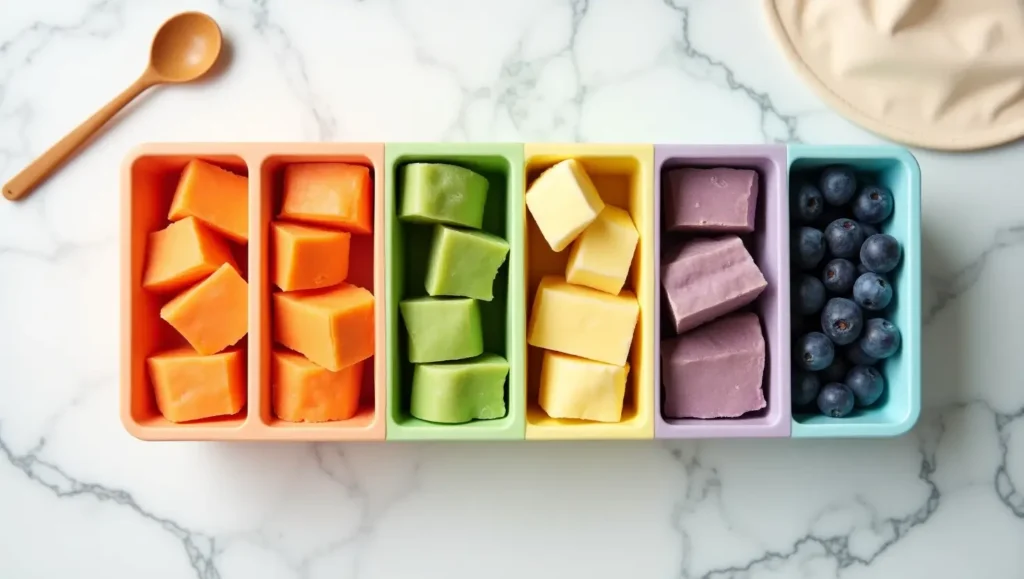
- Ice Cube Trays & Silicone Molds – Perfect for portioning small servings.
- Freezer-Safe Containers – BPA-free, airtight, and clearly labeled.
- Sharp Knife & Cutting Board – For washing and chopping produce.
- Steaming Basket or Microwave Steamer – Gentle cooking methods to preserve nutrients.
For streamlined meal prep, explore programmable gadgets like the Baby Food Maker designed to steam, blend, and dispense purees with minimal effort.
Selecting the Best Ingredients
- Freshness Matters: Choose ripe, unblemished fruits and vegetables.
- Organic Options: Reduce exposure to pesticides, especially for produce on the “Dirty Dozen” list.
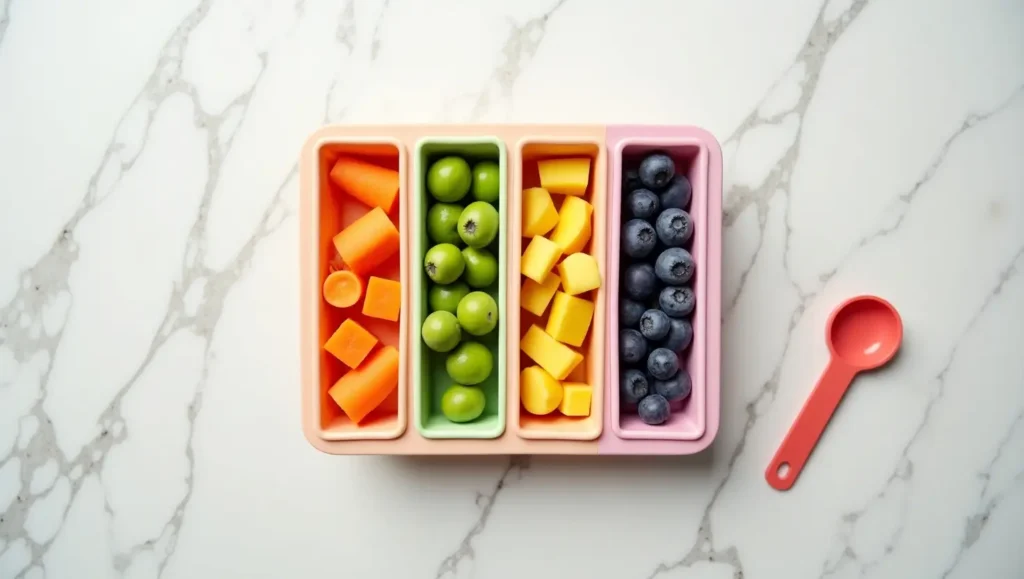
- Seasonal Variety: Incorporate blueberries in summer, sweet potatoes in autumn.
- Protein Inclusion: After six months, consider adding cooked lentils, chicken, or tofu for balanced meals.
- Allergy Awareness: Introduce potential allergens (e.g., peanut butter) one at a time, watching for reactions.

Step-by-Step Preparation Guide
- Wash & Peel: Rinse under cold water, peel skins when necessary (e.g., apples, pears).
- Steam or Boil: Aim for tender but not mushy—steam retains more nutrients.
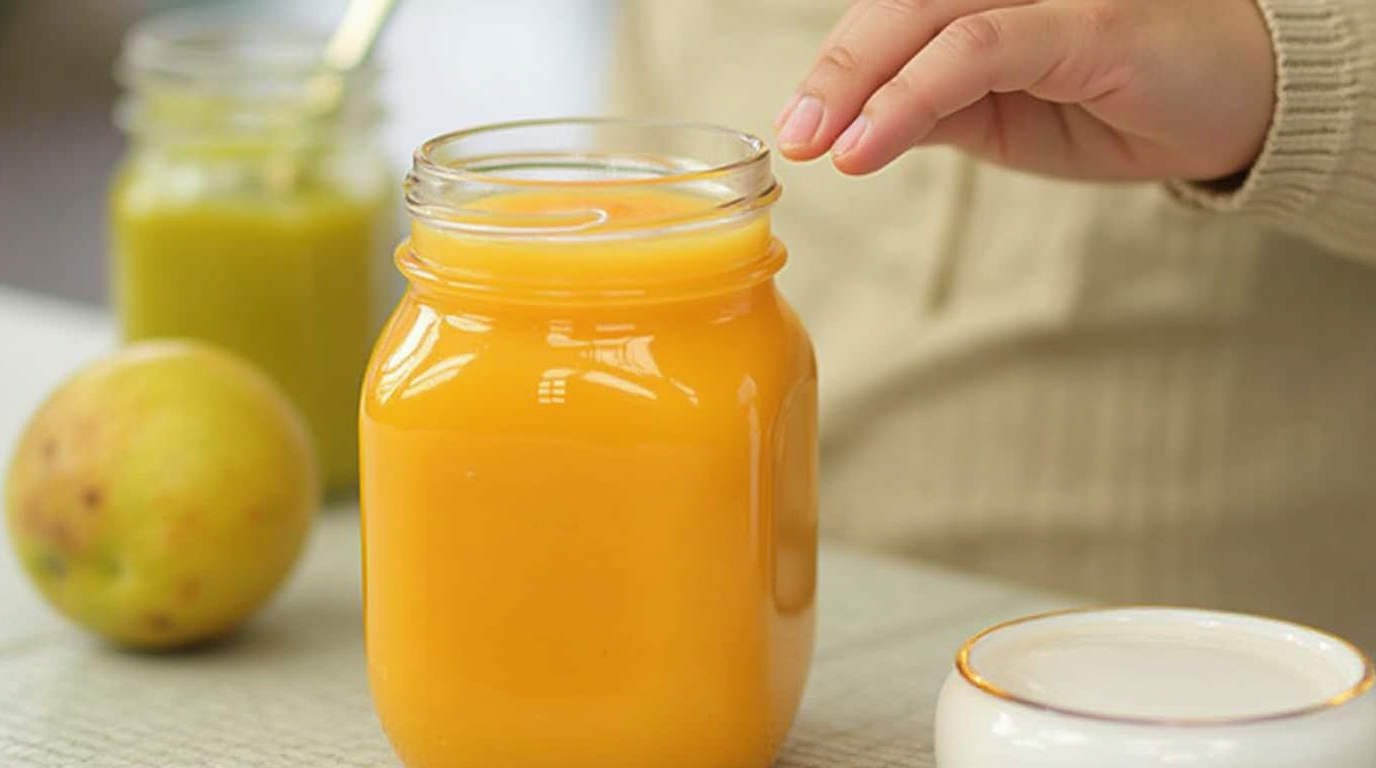
- Blend to Desired Consistency: Add cooking water or breast milk/formula to thin.
- Portion into Trays: 1-ounce cubes suit early eaters; increase to 2-3 ounces as they grow.
- Freeze Quickly: Place trays flat in the freezer for 2–4 hours until solid.
- Transfer & Label: Pop cubes into labeled bags or containers, noting date and ingredients.
Freezing & Storage Guidelines
| Age Stage | Portion Size | Freezing Duration | Recommended Storage |
|---|---|---|---|
| 4–6 months | 1–2 tablespoons | Up to 1 month | Ice cube trays, then bags |
| 6–8 months | 2–4 ounces | Up to 2 months | Airtight containers |
| 8–12 months | 4–6 ounces | Up to 3 months | Resealable freezer bags |
| 12+ months | 6–8 ounces | Up to 4 months | Portion cups or jars |
Safe Thawing Practices
- Refrigerator Thawing: Overnight in the fridge (slow, safest method).
- Cold Water Bath: Place sealed bag in a bowl of cold water for 20–30 minutes.
- Microwave: Use defrost setting, stirring frequently; test temperature before serving.
- Avoid Counter Thawing: Room-temperature defrosting can foster bacterial growth.
Always serve immediately after thawing. Discard any unused portion after 24 hours.
Mastering Flavor Combinations
Introduce your baby to exciting pairings by mixing purees:
- Apple & Sweet Potato
- Pear & Spinach
- Banana & Avocado
- Peach & Carrot
- Peas & Mint
Experimenting encourages palate development and reduces pickiness later on. Need inspiration? Head to Serenity Baby Food for curated flavor guides and meal plans.
Baking vs. Steaming: Which is Better?
- Steaming: Preserves water-soluble vitamins (C, B-complex). Ideal for most vegetables.
- Baking: Concentrates flavors; suitable for sweet potatoes, apples—but may lose some moisture.
Combine methods: roast but steam briefly to soften before blending, balancing taste and nutrient retention.
Sample Nutritional Profile
| Ingredient | Calories (per 2 oz) | Vitamin A (% DV) | Vitamin C (% DV) | Iron (% DV) |
|---|---|---|---|---|
| Carrot Puree | 20 | 200% | 4% | 0% |
| Pea Puree | 30 | 10% | 10% | 4% |
| Banana Puree | 50 | 1% | 6% | 2% |
| Sweet Potato | 40 | 150% | 40% | 2% |
DV = Daily Value based on a 1,000-calorie diet for infants.
Frozen Baby Food Recipes
Ready for a creative spin on mealtime? Dive into these frozen baby food recipes designed for nutrition and taste. Each recipe makes approximately 12–16 cubes, perfect for weekly prep.
- Mango & Banana Delight
- 1 ripe mango, peeled & diced
- 1 ripe banana
- Steam mango until soft; blend with banana.
- Freeze in 1-oz cubes; great as a morning snack.
- Green Pea & Pear Twist
- 1 cup peas (fresh or frozen)
- 1 ripe pear, peeled & cored
- Steam both; blend to desired consistency.
- High in vitamin C, perfect for immunity.
- Carrot, Apple & Ginger Purée
- 2 carrots, peeled & chopped
- 1 apple, peeled & cored
- Small pinch of fresh ginger
- Steam carrots; blend with apple and ginger.
- Ginger adds digestive support.
These frozen baby food recipes boost variety and introduce textures that help with oral motor development.
Frozen Baby Food for Teething
Teething can be a challenging phase for both babies and parents. Cold, soothing purees provide relief and nourishment. Here’s a dedicated section on frozen baby food for teething.
- Cucumber & Mint Cubes: Steam lightly, blend, then freeze. The coolness and mint’s mild flavor can soothe sore gums.
- Greek Yogurt & Blueberry Pops: Mix plain full-fat yogurt with mashed blueberries. Spoon into molds and freeze.
- Watermelon Slush: Puree seedless watermelon; freeze into shallow trays. The high water content hydrates and chills.
Serve these icy treats in a mesh feeder to prevent choking. Always supervise teething treats to ensure safety.
Thaw & Serve: Timing Tips
- Morning Routine: Move desired cubes to fridge before bed.
- Meal Prep: Thaw 2–3 hours ahead for lunch or dinner.
- On-the-Go: Pack in insulated containers with a frozen gel pack.
- Flavor Boosters: Stir in a bit of cooled homemade broth or breast milk.
Troubleshooting Common Issues
- Grainy Texture: Ensure produce is fully tender; add extra liquid when blending.
- Off-Flavors: Some vegetables (like broccoli) can taste strong when frozen—mix with sweeter fruits.
- Freezer Burn: Use airtight containers; press plastic wrap directly onto purees before sealing.
- Separation After Thawing: Stir gently; natural separation is normal—nutrients remain intact.
Transitioning to Solids & Finger Foods
Once your baby masters purees, gradually introduce thicker textures:
- Mashed Chunks: Partially blend and leave small bits.
- Soft Puffs & Teethers: Encourage self-feeding.
- Mixing Textures: Combine purees with small pasta shapes or rice.
This progression supports chewing skills and independence at mealtimes.
Conclusion
Homemade Frozen Baby Food empowers you to serve nutritious, varied meals while saving time and reducing waste. By following safe preparation, storage, and thawing practices, you ensure every cube delivers essential vitamins and minerals. Explore more flavor inspiration at Serenity Baby Food and streamline your kitchen routine with tools like the Baby Food Maker. Embrace the convenience without compromise—your baby’s health and your sanity will thank you!

One thought on “Frozen Baby Food”
Comments are closed.